Snowflakes, Snowman and Brackets from www.freedigitals.com
Ribbon from www.designerdigitals.com - KPertiet Everyday Tag Wrap red
Ribbon from www.designerdigitals.com - KPertiet Everyday Tag Wrap red
Snowflakes, Snowman and Brackets from www.freedigitals.com
Ribbon from www.designerdigitals.com - KPertiet Everyday Tag Wrap red
0 Comments
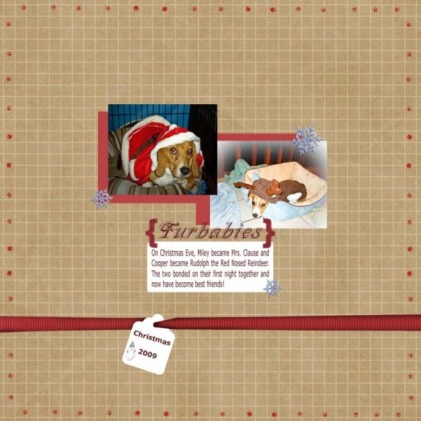
This page was fun to do as well. I have so many pictures from the past 27 years that it's neat to put them on a page that tells the story of the picture. This page is from when my family and I went to the Notre Dame football game in Nov. 2009. It was a beautiful fall day..and warm...thank goodness or I wouldn't have been happy. All the digital pieces are from DesignerDigitals except for the Football which is from ScrapbookFlair.com. 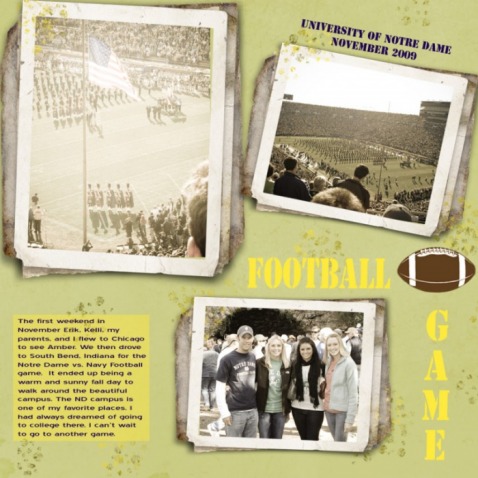 This weekend I made bread bowls for the first time using my bread machine. The bread machine did all of the kneading but then it had to rise. Then I split the dough into 6 pieces like the directions said. Well, I ended up with mini bread bowls :) It fit maybe 3 bites or so in it. Erik and I laughed. They were still good though. I also made Potato Soup to go with the bread bowls. It tasted good but ended up being not as soupy as we would have liked. Homemade Potato Soup Ingredients - 3 cups peeled, chopped Potatoes 1 cup Water 1/2 cup Celery slices 1/2 cup Carrots, sliced 1/4 cup chopped Onion 1 teaspoon Parsley Flakes 1 Chicken Bouillon Cube 1/2 teaspoon Salt 1 1/2 cup Milk 1 tablespoon Flour 1/2 pound American Cheese, diced Preparation: In a large saucepan combine potatoes, water, celery, carrots, onion, parsley flakes, bouillon cube and seasoning. Mix well, cover; simmer 15 to 20 minutes or until vegetables are tender. Add milk to flour, mixing until well blended. Add milk mixture to vegetables; cook until thickened. Add cheese and stir until melted. Makes 6 to 8 servings. From: http://www.potatosouprecipe.com/Recipes/HomemadePotatoSoup.htm It definately didn't make 6 to 8 servings. So I'm on to find another potato soup recipe. 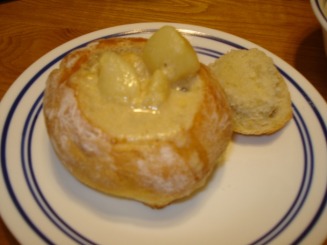 I started working on my first tiered cake on Sunday...well that was a bad idea. I should have started on Saturday. I made a 4 inch tall by 6 inch wide cake and a 4 inch tall by 10 inch wide cake. Well I ran out of ingredients half way through making the batter so I had to go to the store to get more eggs, powder sugar, oil, etc. Then I couldn't decide whether to ice it buttercream or fondant. I settled on the normal white buttercream because I didn't have enough fondant to cover both cakes plus it tastes soo much better. I began icing the cakes and ran out of icing..even though I had made 3 batches. So I had to make more. I finally finished icing the cakes around 9 p.m. Sunday night. Then the 10 inch cake wouldn't fit in the box so I had to tape it open and put saran wrap around it. It took a lot of time but I think it turned out pretty good. Everyone at work loved it and said it tasted like Wedding Cake! I'm already contemplating my next cake! 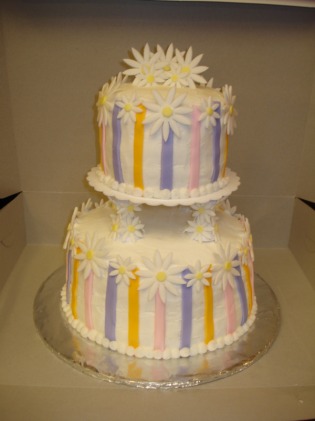 Daisy Cake - Almond Cake with Buttercream 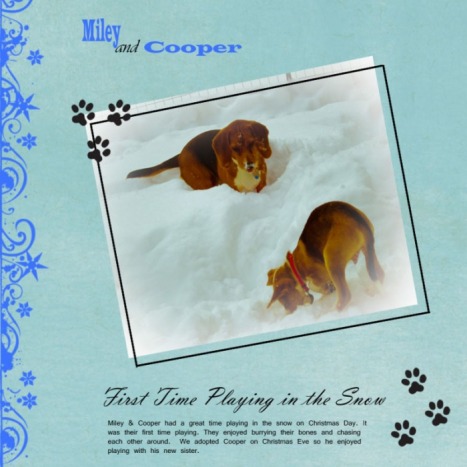 This is my first try at creating a digital scrapbook layout in Photoshop. I think it turned out pretty well. I love my puppies and they are soo cute. So they were the perfect subject. It took some time to learn how to put these things together but I enjoyed it. All of the pieces are from www.designerdigitals.com by Katie Pertiet. So I finally got a cheesecake pan for our wedding...which was 3 months ago and thought it was about time to use it. I've been wanting to make this cheesecake forever. I wanted to find something that was similar to the Cheesecake Factory's Adam's Peanut Butter Cup Cheesecake. So this is what I found online and I changed it a bit. Peanut Butter Cup Cheesecake Ingredients
 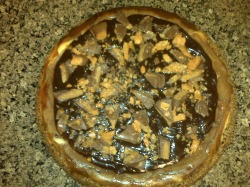 These pictures do not do the Cheesecake justice! It is soo yummy! I'm trying really hard to start cooking more...so this is a lot of experimenting. I have a tendency to find recipes online and then they don't turn out so well. I also like to try to make them a little healthier and lowfat..which my husband doesn't like BUT I'm just trying to keep him healthy. I made Chicken, Broccoli, and Garlic Pasta Casserole that I found on Cooks.com. It was decent but I ended up using Skim Milk in place of Whole Milk which I think made the casserole a little runny. Erik gave it a ....I'd eat it again but with more cheese. He's all about loading it up with fat. Chicken, Broccoli & Garlic Pasta Casserole The recipe is as follows: Ingredients 3 oz. cooked penne Salt & Pepper to taste 3 c. steamed, chopped broccoli 2 cloves chopped garlic 3 tbsp. flour 1 tsp. dried thyme 1 1/2 c. chicken broth 1 1/2 c. whole milk 1 bay leaf -- I didn't have so didn't use it. 3/4 lb chicken breast boneless strips Pinch nutmeg 2 tbsp. chopped parsley 1/2 c. cottage cheese 3 tbsp. parmesan cheese Directions Cook pasta according to directions. Steam broccoli. Place both in a bowl. heat oven to 350 degrees. In a sauce pan, heat the butter over medium heat. Add onion and cook for about 3 minutes until softened. Stir in garlic and flour; cook for 1 minute. Stir in thyme and then slowly whisk in broth and milk. Add bay leaf, bring to boil, reduce heat and cook gently for 10 minutes. Add chicken and cook for 2 to 3 minutes until chicken is barely cooked through. Remove from heat and season with salt, pepper and nutmeg. Add to bowl with the pasta and broccoli along with parsley and stir until mixed. Put casserole into oiled 11 1/2 x 8 inch baking dish. Dot with cottage cheese and sprinkle with parmesan. Bake for 20 minutes until heated and through and top is lightly browned. I served the pasta with homemade white bread! YUM YUM! 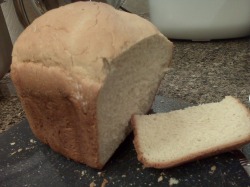  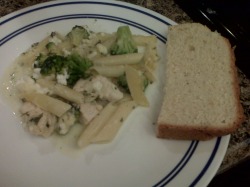 I made my first fondant cake this week. I think it turned out really well. It was also a lot easier than I thought it would be. It was fun too! Unfortunately, fondant doesn't taste very good. I'm hoping to make marshmallow fondant sometime soon, which tastes better than store bought fondant. At least I had buttercream underneath the fondant which tastes awesome! 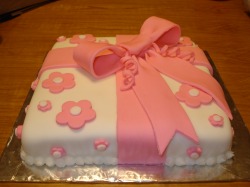  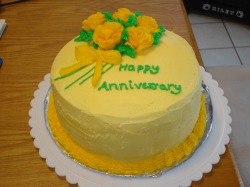 I made another yummy cake this weekend. It is a 3 layer yellow cake with chocolate buttercream filling and white buttercream filling. I made it for in-laws Wedding Anniversary. They loved it. My mother in law even asked if I was going to start a busines... wouldn't that be awesome. Cakes are so time consuming though and not sure I could make much money doing it. I still have a LOT to learn but I really enjoy it surprisingly. I'd say this cake took me 5 hours or so by the time I baked the cake, made the frostings, colored the frostings, iced it and then decorated it. Plus there were a few issues along the way but that's what happens when you are learning. 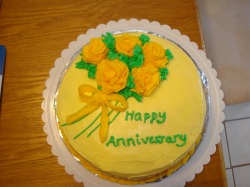 A View from the Top of the cake. I need to work on the writing portion. It's a lot harder than you think and I have great penmanship normally. I made two, small Christmas Cakes. I was rushed with the snowman cake and ran out of time to finish decorating it so I used butterscotch chips and cinnamon chips to finish his nose and lips. Then I made a snowflake cake, which was simple and easy. I ended up just using store bought icing for the overall icing and then the homemade, white buttercream icing for the decoration. I also enjoyed decorating a few chocolate cupcakes with sprinkles and chocolate icing. 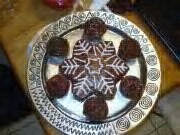 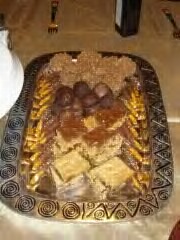 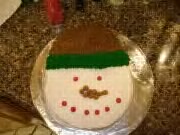 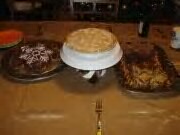 | My Thoughts (Blog)
 Visit my photography blog!  I am a JessicaSprague.com Certified Digital Designer   Custom Invitation Etsy Shop  Become a Fan of Erin Leigh Designs      ArchivesApril 2011 CategoriesAll Cake Decorating Inspiration
|
 RSS Feed